
Wire-O binding is a popular and professional-looking method for assembling books, notebooks, calendars, and reports. Known for its durability and ability to lay completely flat, this binding style uses a double-loop wire that holds pages securely while allowing smooth page turning. Whether you’re creating a custom planner or a presentation document, understanding the Wire-O process can help you achieve polished results.
What Is Wire-O Binding?
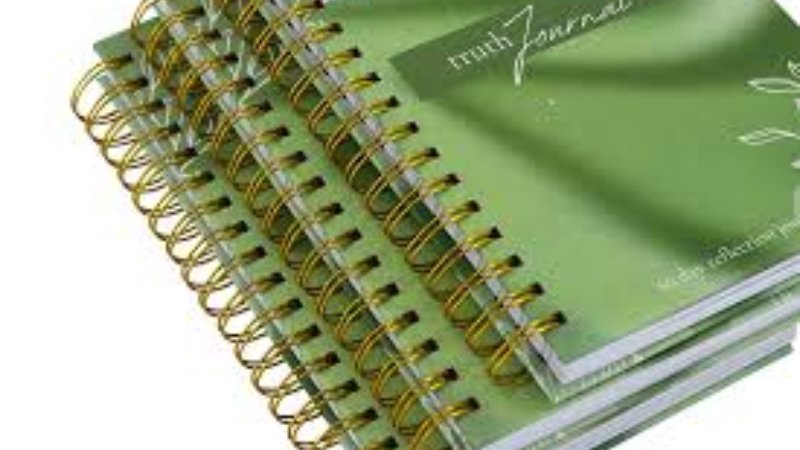
Wire-O binding involves threading a metal wire through a series of punched holes along the edge of a document. Unlike spiral binding, which uses a continuous coil, Wire-O uses pre-formed double loops that are clamped shut after insertion. This creates a clean, symmetrical spine that is both sturdy and aesthetically appealing.
Materials You’ll Need
Before starting, gather the following materials:
- Printed pages (and covers if needed)
- Wire-O binding spine (available in various sizes and colors)
- Wire binding machine or punch tool
- Wire closer (often built into binding machines)
- Ruler or margin guide
Choosing the correct wire size is crucial—it should match the thickness of your document to ensure proper page turning and secure binding.
Step 1: Prepare Your Document
Start by organizing your pages in the correct order. Align them neatly and ensure margins are set properly, leaving enough space (usually around 0.5 inches) on the binding edge for punching holes. If you’re including covers, place them at the front and back of your stack.
Step 2: Punch the Holes
Using a wire binding machine or manual punch, create evenly spaced holes along the binding edge. Most Wire-O systems use a 3:1 pitch (three holes per inch) for thinner books and 2:1 pitch for thicker ones. Be consistent and avoid overloading the punch to maintain clean, precise holes.
Step 3: Insert the Wire
Once all pages are punched, stack them together and align the holes. Take your Wire-O spine and carefully thread it through the holes. Start from one end and work your way across, ensuring each loop passes through cleanly.
Step 4: Close the Wire
Place the inserted wire into the wire closer. This tool gently compresses the open loops into a closed, circular shape, securing the pages in place. Adjust the closer based on the wire size to avoid over-tightening or leaving gaps.
Step 5: Final Inspection
After closing the wire, flip through your book to check alignment and page movement. Ensure the pages turn smoothly and the wire is evenly closed.Trim edges if necessary for a clean finish.